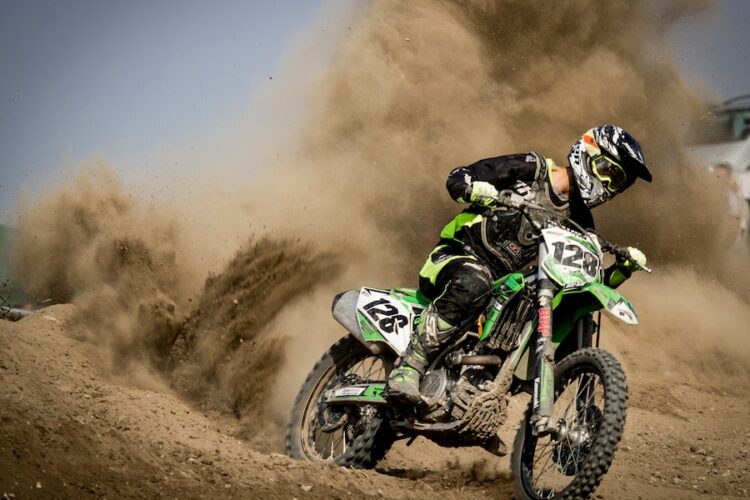
Installing graphics kits on your KTM SX 50 is a great way to revitalize its appearance and make it stand out on the track. Whether you’re a seasoned motocross enthusiast or a beginner, the process of installing graphics kits can be straightforward.
Finding the Right Graphics Kit
New graphics can make a big difference in how your bike looks, so it’s important to choose carefully. Check out a selection of KTM SX 50 graphics kits to find one that’s going to be perfect. With so many options, it can be hard to choose just one.
Preparation
Before starting the installation process, gather all the necessary tools and materials. You’ll typically need a heat gun or hairdryer, a squeegee or plastic card, a clean cloth, and some rubbing alcohol. Ensure that your bike’s plastic surfaces are clean and free from dirt, grease, and residue.
Positioning
Lay out the graphics on your KTM SX 50 to get an idea of how they’ll look when installed. Make sure to align the graphics properly with the bike’s bodywork, ensuring that they fit snugly and follow the contours of the plastic. Adjust and reposition as needed until you’re satisfied with the placement.
Surface Preparation
To ensure a strong and durable bond between the graphics and the bike’s plastics, it’s crucial to prepare the surface. Clean the areas where the graphics will be applied using rubbing alcohol and a clean cloth. This will remove any dirt, oils, or residues, allowing the graphics to adhere properly.
Heat Application
Using a heat gun or hairdryer on a low setting, warm up the plastic surfaces where the graphics will be applied. This step helps to soften the plastic and makes it more receptive to the adhesive on the back of the graphics. Be careful not to overheat the plastic to avoid damaging it.
Peel and Stick
Once the plastic surfaces are warm, carefully peel off the backing paper from the graphics. Start with one corner or edge and slowly work your way across the design, applying even pressure to ensure proper adhesion. Take your time to prevent air bubbles or wrinkles from forming. If you encounter any air bubbles, gently lift the graphic and use a squeegee or plastic card to push the air out.
Finishing Touches
After applying the graphics, use the heat gun or hairdryer to heat the graphics again. This will activate the adhesive and help it bond securely to the plastic. Gently press down on the graphics with a clean cloth or squeegee to ensure they’re fully adhered. Pay extra attention to edges and corners to ensure a smooth and seamless finish.
Trim and Clean
Once the graphics are applied, use a sharp utility knife or scissors to trim any excess material. Carefully cut along the edges of the plastic to achieve a clean and professional look. After trimming, give the graphics a final wipe-down with a clean cloth to remove any residue or fingerprints.
Remember, it’s essential to read and follow the specific instructions provided with the graphics kit you’ve chosen, as different kits may have slight variations in the installation process.
Installing graphics kits on your KTM SX 50 is a fantastic way to give it a fresh and personalized look. Start by looking at the amazing options for graphics kits, and you can transform your bike’s appearance and turn heads on the track. Enjoy the process of revitalizing your KTM SX 50 with stunning graphics kits, and get ready to ride in style.


